Programming your garage door opener can seem daunting, but with the proper guidance, tools, and safety precautions, even novice DIYers can learn how to do it. In this beginner’s guide, I’ll walk you through the step-by-step process of program garage door opener, from understanding the essential components to setting up the opener, remote controls and keypads.
Overview of Garage Door Opener Systems
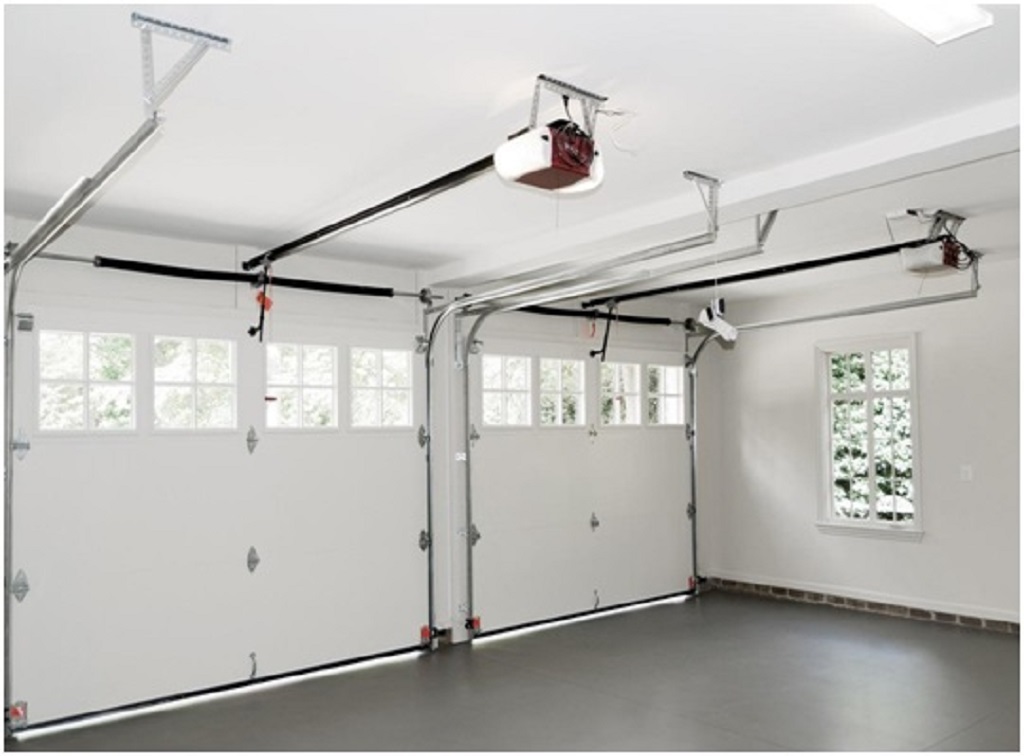
Before we get into the programming, let’s first understand what makes up a garage door opener system. There are three main components:
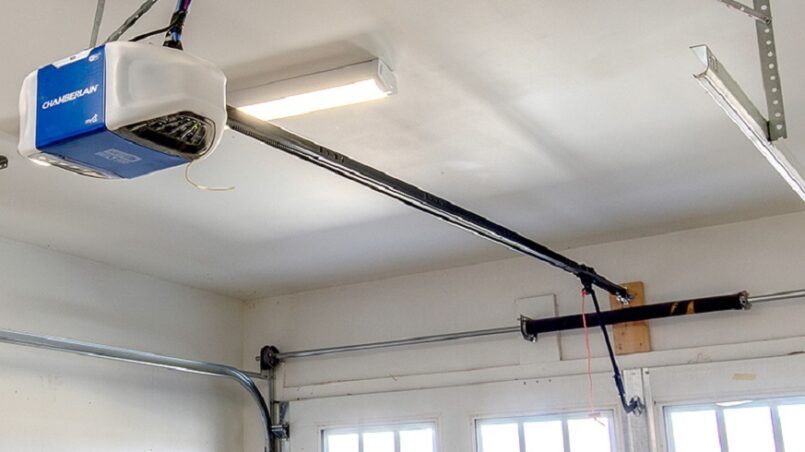
The Opener Motor – This motorized unit mounted to the ceiling drives the motion of opening and closing the garage door. It contains the logic board that houses the programming.
The Remote Control – This handheld transmitter communicates with the opener motor via radio frequency. You press the button to open and close the door.
The Wall Mounted Keypad – This wired keypad is mounted outside the garage and communicates with the opener to control the door. You enter a code to open and close.
Additionally, there is a safety sensor system that reverses the door if obstructed during closing. The logic board has ports to connect the sensors. Newer models also have Bluetooth and WiFi capability for smartphone control.
Preparation
Before programming the opener, you need to take a few preparatory steps:
- Read the manual – The manufacturer will have opener-specific instructions and safety guidelines. Thoroughly read this before attempting installation. Pay attention to the programming instructions.
- Check the power – The opener must be electrically powered and grounded to work. Ideally, there should be a dedicated outlet to connect the motor.
- Have tools ready – You will need essential hand tools like a ladder, screwdriver, pliers, etc., to install the various components. Check the manual for any special tools recommended.
- Check compatibility – If you have an older system, verify that the new components you want to add, like remotes or keypads, are compatible with the opener motor unit.
Safety First
Working on garage door openers can be potentially dangerous. Here are some essential safety tips:
- Power off the opener when servicing it
- Don’t wear loose clothing or jewelry when installing
- Use eye protection
- Have someone assist you with heavy lifting
- Keep hands and fingers away from moving parts
- Use a sturdy ladder or raised platform
Installing the Opener
Once you’ve prepped your tools and reviewed the safety instructions, you’re ready to install the opener itself:
- With the power off, mount the opener motor unit on the ceiling as the manual directs. This usually involves lifting it into place and bolting it to supports.
- Attach the included chain/belt to the motor drive and the door bracket as the instructions show. Adjust the tension.
- Connect the safety sensor wires to the logic board ports on the opener. Make sure the sensors are correctly aligned.
- Plug in the opener power cord into an outlet. Make sure the door moves smoothly when tested.
- The basic installation is done. It’s time to move on to programming and setting up accessories.
Programming the Opener
Each garage door opener brand has its programming method outlined in the manual. It involves putting the motor into programming or learning mode and adding accessories individually. Here is a typical sequence:
- Locate the learn button on the opener unit. There should also be indicator lights.
- Press and hold the learn button for a few seconds until the light starts flashing. This puts it in programming mode.
- For the first remote, please press the button you want to use while aiming it at the motor unit. The light should stop flashing and stay steady once it’s programmed.
- Repeat the process to add other remotes or keypads. Some newer openers allow adding multiple devices in one go.
- Press the learn button again to exit programming mode until the light stops flashing.
Some critical tips for the process:
- Consult the manual for timing when pressing buttons
- Stand within a few feet when programming
- Add devices one at a time
- Try a few times if it doesn’t take
- Replace the remote battery if it has trouble syncing
Once done, test by operating the door using the remote or keypad. The opener is now programmed and ready for regular use.
Advanced Programming
Other than accessories, garage door openers have additional settings you can tweak:
Travel limits – Adjust the fully open and fully closed positions. This fine tunes the door travel.
Force limits – Change the force sensitivity when opening or closing. Increase if the door reverses too quickly.
Auto-close timer – Set a delay, and the door will automatically close. Useful for remote operation.
WiFi/Bluetooth – Connect to smart home systems for extended features.
Temporary disable lets you turn off remotes/keypads if you lose one.
Remote settings – Modify remote button functions or add secondary remotes.
Light/Lock settings – Alter the light bulb on times or lockout remotes.
These settings can offer customization but also impact safety if not adjusted properly. Refer to the manual and use caution when altering them.
Maintaining Your Opener

Once installed and programmed, just a little routine maintenance is needed:
- Test the safety reversal monthly – Place an object under the door and ensure it reverses direction.
- Lubricate the chain/belt, pulleys, and rollers periodically per manual.
- Check for any loose hardware or damage to parts. Tighten or replace as needed.
- Replace the backup battery every 2-3 years.
- Update and reprogram components if installing newer accessories.
- Consult the installation manual for model-specific maintenance.
A quality garage door opener should provide years of trouble-free service with proper installation and care. Revisiting the programming as you add new intelligent controls will help keep your system updated.
FAQs
How do I put my garage door opener into programming mode?
Most openers have a learn button or intelligent button that you press and hold for several seconds to put it into programming mode. Check your owner’s manual for specific instructions.
How many remotes or keypads can I program?
Most standard opener models allow storing around 20 to 30 codes. Some advanced WiFi models support over 100 devices. Refer to the limit specified for your unit.
What if I lose power before the programming is complete?
You usually have to start over if the programming sequence is interrupted. Any programmed devices should still work, however.
Why does my remote not program at the maximum range?
Try standing closer within 10-15 feet and pointing the remote directly at the opener unit when programming. This prevents interference.
How do I de-program old remotes?
There should be a way to delete programmed devices, either by a “clear memory” function or by pressing the learn button for a specific time. Check the owner’s manual for how your model handles de-programming.
Conclusion
Programming a garage door opener seems complicated but involves simple steps. The key things to remember are:
- Review the installation manual thoroughly
- Check compatibility if adding new accessories
- Follow safety precautions at all times
- Put opener into program/learn mode
- Add remotes keypads one at a time when prompted
- Test operation once programmed
- Adjust settings and maintain them periodically
Take it slow, follow the directions, and don’t skip safety. With patience and care, you can DIY program even the latest modern garage door openers in under an hour. Learn HOW TO INSTALL GARAGE DOOR WEATHER STRIPPING. The ability to update and customize the system over time will continue paying convenience dividends for years.