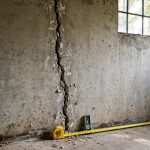
Epoxy injection foundation crack repair fills a stable crack with strong liquid resin. You inject the resin through small ports, and it bonds both sides into one solid section. This method suits dry, nonmoving cracks in poured concrete basement walls best.
Begin by checking the crack width, direction, and recent movement before you start. For methods, costs, and warning signs, explore foundation crack repair before you choose epoxy. Next, you confirm the wall shows no bowing, offset, or active water leakage.
Meanwhile, epoxy offers a rigid bond, so it restores strength rather than merely hiding surface damage. Therefore, homeowners often choose it for load-bearing cracks that have stopped moving completely. In this guide, you learn preparation, injection, curing, and follow-up inspection steps.
How Epoxy Injection Crack Repair Works
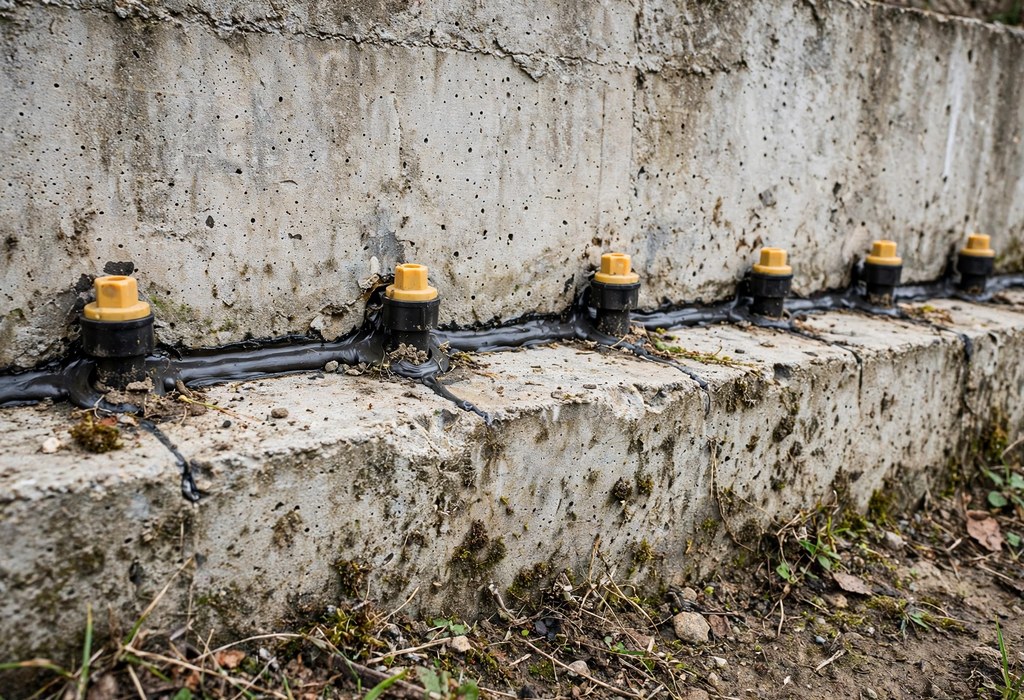
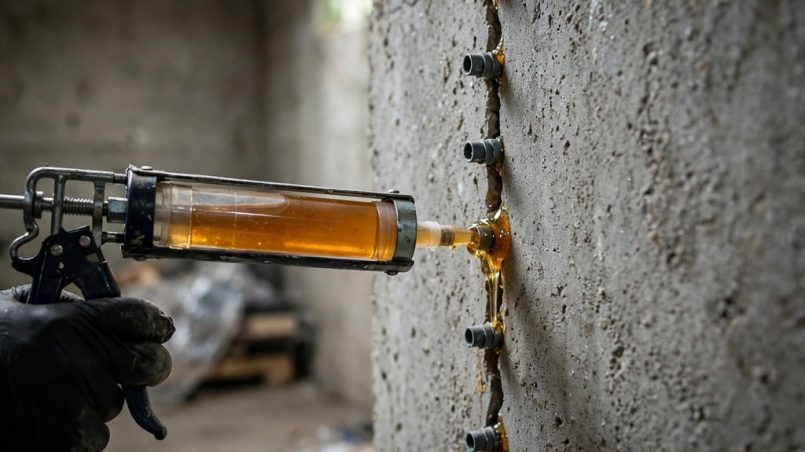
Low-pressure injection pushes thin resin deep into the crack through spaced ports along its length. As resin travels upward, it fills voids, displaces trapped air, and creates a continuous structural bond. After curing, the concrete resists water entry and transfers loads across the former crack.
Epoxy differs from surface patching because it penetrates the full wall thickness, not just the face. Consequently, a successful epoxy injection foundation crack repair restores much of the original wall strength. However, rigid epoxy cannot flex, so moving cracks may crack again beside the repair.
When Epoxy Injection Repair Fits Your Crack
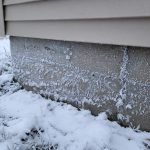
Epoxy works best for vertical or diagonal cracks that measure narrow and show stable edges. Additionally, the crack should stay dry during injection, since moisture weakens the resin bond. Shrinkage cracks and minor settlement cracks often meet these conditions after you monitor them briefly.
If your crack leaks actively, compare epoxy vs polyurethane injection before you buy any kit. Polyurethane foam expands, seals wet cracks, and flexes slightly with minor seasonal movement. In contrast, epoxy provides greater structural bonding for dry, load-bearing cracks that need strength.
Stop and seek expert advice when you notice horizontal cracks, stair-step patterns, or bowing walls. Similarly, widening cracks, offset edges, or sticking doors signal ongoing movement beneath the home. A structural engineer can diagnose soil pressure, drainage failure, or settlement before you inject anything.
Tools for Epoxy Injection Crack Repair
Gather every tool before you mix resin, because epoxy sets quickly once you combine its parts. Choose foundation crack repair kits that match your crack length, width, and wall thickness. Check kit contents carefully, and buy extra ports when your crack runs longer than expected.
- Injection kit: Includes low-viscosity resin, surface paste, ports, and a dispensing gun.
- Cleaning tools: Use a wire brush, vacuum, and putty knife for thorough surface preparation.
- Safety gear: Wear gloves, eye protection, and a respirator in poorly ventilated basement spaces.
- Finishing supplies: Keep sandpaper, a hammer, and waterproof sealant ready for final cleanup.
- Measuring tools: Carry a ruler, marker, and flashlight to map crack width and port spacing.
Step-by-Step Epoxy Injection Repair
Prepare the Crack Surface for Epoxy Injection
First, clear furniture and stored items away from the wall, then sweep loose dust aside. Next, scrub the crack vigorously with a wire brush until you expose clean, bare concrete. Finally, vacuum debris from the crack, and wipe away efflorescence, paint, or loose flakes.
Attach Ports for Epoxy Injection Crack Repair
Place injection ports directly over the crack, spacing them about eight inches apart along its length. Then, press epoxy paste firmly behind each port base, and anchor every port securely in place. Afterward, spread surface seal paste over the crack between ports, leaving each port opening clear.
Mix and Inject the Epoxy for Crack Repair
Wait until the surface paste hardens fully, because premature injection forces resin out through gaps. Mix the two-part epoxy exactly as the manufacturer directs, and load it into the dispensing gun promptly. Start at the lowest port, inject slowly, and cap it when resin reaches the next port. Continue upward port by port until resin fills the full crack length completely.
Cure the Epoxy Injection Crack Repair
Allow the epoxy to cure undisturbed for at least one full day before you touch the repair. Once curing completes, knock off port tops gently with a hammer, then sand rough edges smooth. Lastly, apply waterproof sealant over the repair, and inspect the wall again after heavy rain.
Common Mistakes to Avoid
Many repairs fail because homeowners inject resin into dirty, damp, or actively moving cracks. Avoid rushing surface preparation, and never skip the curing period to paint or finish early. Also, avoid overpressurizing ports, since excess pressure can blow out the surface seal paste.
Another common error involves choosing thick resin for hairline cracks, which blocks deep penetration. Instead, match viscosity to crack width, and test flow on a small section first. Moreover, epoxy injection foundation crack repair demands patience, steady pressure, and careful observation throughout.
Cost and Time Expectations
Most DIY kits cost roughly one hundred to four hundred dollars, depending on crack length. Professional epoxy injection typically costs five hundred to fifteen hundred dollars per crack. As a result, DIY saves money only when the crack qualifies as stable, narrow, and dry.
Plan one to two hours for a short crack, plus curing time before you finish the surface. Longer cracks need more ports, more resin, and additional time for careful injection. Nevertheless, early repair usually costs far less than later structural stabilization or waterproofing work.
When to Call a Professional
Call a professional immediately when cracks widen, leak persistently, or accompany bowing walls. Experienced contractors use high-pressure equipment, diagnostic tools, and carbon fiber reinforcement effectively. They also identify hidden causes, such as poor drainage, expansive soil, or hydrostatic pressure nearby.
For load-bearing walls, a professional assessment protects your home value and your family safety. In addition, professionals often provide warranties, documentation, and follow-up inspections after injection. Thus, you gain confidence that epoxy injection foundation crack repair addresses the root cause, not just symptoms.
Frequently Asked Questions
How Long Does Epoxy Injection Take to Cure?
Most low-viscosity epoxy gels within an hour and reaches full strength within one to two days.
Can You Fix a Foundation Crack Yourself With Epoxy?
Yes, you can repair a stable, dry, narrow crack yourself when you follow kit instructions carefully.
Does Epoxy Injection Work on Leaking Cracks?
No, epoxy bonds poorly on wet surfaces, so you need a flexible foam sealant for active leaks.
How Long Does an Epoxy Crack Repair Last?
A proper stable crack repair can last for decades when underlying movement stops completely.
Can You Paint Over an Epoxy Foundation Repair?
Yes, you can paint over dry epoxy after you sand the surface smooth and apply primer first.
Conclusion
Epoxy injection gives homeowners a strong, lasting solution for stable foundation cracks when preparation stays thorough. Take time to assess the crack, gather quality materials, and inject slowly from the bottom upward. Your careful work today can prevent water damage, preserve structural strength, and protect your investment long term.
Inspect your basement walls this week, measure any cracks, and decide whether epoxy suits your situation. Start with a small, stable crack, follow every safety step, and call a professional for doubtful signs.