Wall mounted storage hooks are a great way to maximize unused wall space and keep your home organized. Whether you want to hang pots and pans in the kitchen, towels in the bathroom, or create additional storage space in a closet, installing hooks on the wall can help declutter your home.
Installing wall mounted storage hooks is an easy DIY project that can be completed in just a few steps. With some basic tools, materials, and a bit of know-how, you’ll have functional and decorative storage hooks on your walls in no time.
Benefits of Wall Mounted Storage Hooks
Before diving into the installation process, let’s first go over some of the benefits that wall mounted hooks can provide:
Maximize Vertical Storage Space
Hooks take advantage of vertical wall space, helping you optimize storage capacity without taking up valuable floor space. Even small wall sections can accommodate multiple hooks.
Keep Items Visible and Accessible
Storing items on hooks keeps them visible and within easy reach. You don’t have to dig through cabinets or drawers to find what you need.
Create A Clean, Organized Look
Hooks keep items up off countertops and other horizontal surfaces, giving your space a tidy, uncluttered appearance.
Provide Versatile Storage Options
Hooks can be used in any room and customized to hold a variety of items – kitchen tools, cleaning supplies, jackets, hats, bags, towels, and more!
Offer Affordable Storage
Hook rails and individual hooks are inexpensive. Installing your own hooks costs a fraction of buying full cabinetry or shelving units.
Allow Flexible Arrangements
Hooks can be positioned at varying heights and distances to accommodate different-sized items. You can move hooks around as storage needs change.
Choosing Hook Type and Placement
Once you’ve decided to add some hooks for extra storage, you’ll need to choose the best hook style for your needs. You’ll also want to determine the optimal placement based on your space and the items being stored.
Hook Type
There are several common hook types to consider:
- Straight single hooks – Good for lightweight items like hand towels, aprons, and keys. The hook shape keeps items from sliding off easily.
- Double hooks – Provide two prongs for added storage capacity. Useful for bulky or heavy items that need extra support like coats, pans, and bags.
- J-shaped hooks – The curved J shape is great for hanging items by their handles or straps. Often used for pots and pans in kitchens.
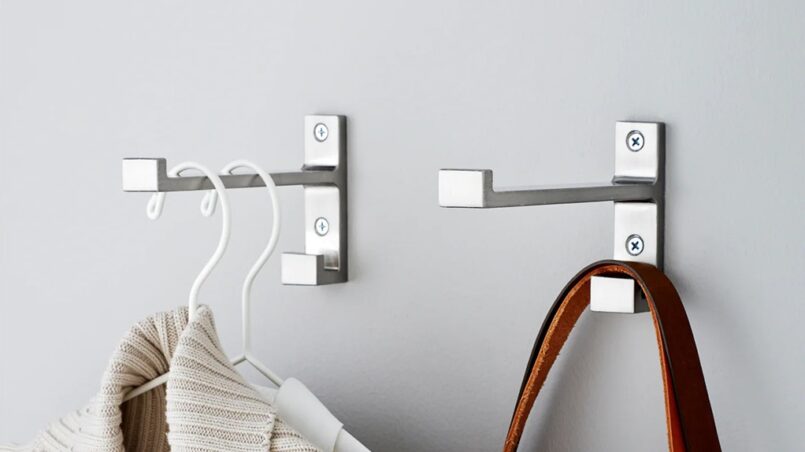
- Robe or towel hooks – Feature a horizontal bar perfect for draping robes, towels, and clothing items.
- Utility hooks – Sturdy hooks with a sleek, modern design made to handle heavy-duty items in a garage or workshop.
- Decorative hooks – Stylish hooks that add flair while still being functional. Come in a range of finishes like aged bronze, nickel, black, or white.
Consider which hook shape best suits the items you want to store. Also factor in the hook size – larger hooks can manage bigger, heavier objects.
Hook Placement
When determining the placement of your new hooks, keep these guidelines in mind:
- Install hooks 16-18 inches apart to allow enough space for items without overcrowding. For lighter items like towels or keys, 12 inches may suffice.
- Position hooks at least 2 to 2.5 feet above any countertops or furniture. This prevents items from bumping into things underneath.
- Place hooks strategically near the point of use, like near a kitchen sink or stovetop. But avoid positioning right above heat sources.
- Mount hooks into wall studs for maximum strength and weight capacity.
- Arrange hooks at a convenient height for those who will be using them most. Take your own height and reach into account.
- Check that hooks won’t block windows, doorways, or lighting fixtures when in use.
Measure carefully when mapping out hook placement. Leveling and centering hooks on the wall give a clean, professional look.
Gathering Materials and Tools
Installing wall hooks is a quick DIY job. You likely already have many of the tools and materials needed:
Materials
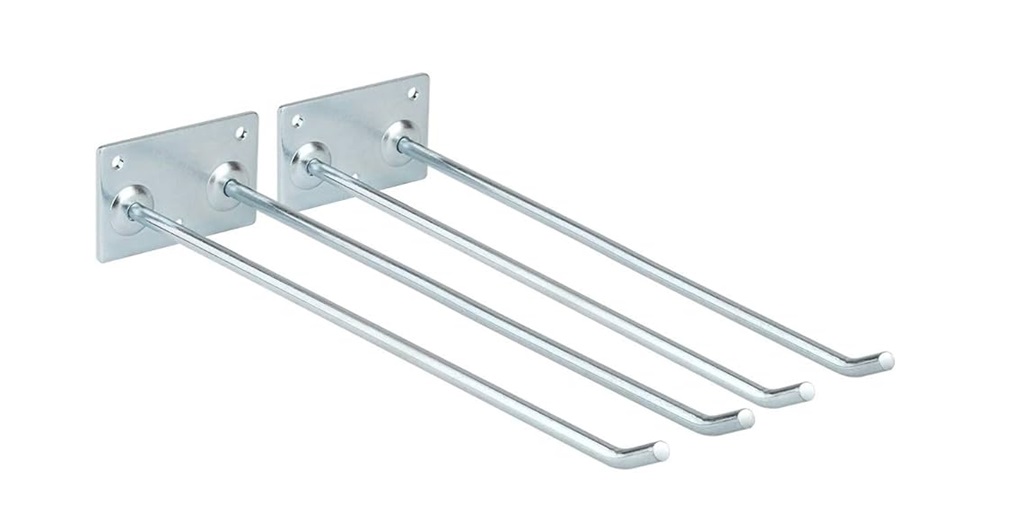
- Hooks – Purchase hooks of the style and quantity you want to install. You can buy multi-hook strips or individual hooks.
- Screws – Choose screws long enough to penetrate the wall studs. #8 or #10 gauge screws are commonly used.
- Anchors – Include anchors to reinforce screws in the drywall between studs. Expandable or toggle anchors provide a sturdy grip.
- Pencil and ruler – Use these to mark stud locations and outline hook placements.
- Level – Ensures hooks are mounted straight and even. A small bubble level works well.
Tools
- Drill – A power drill allows fast, easy hook installation. A manual screwdriver can also be used.
- Stud finder – Locates hidden wall studs so you can secure hooks properly.
- 1/8″ drill bit – For pilot holes in studs prior to screwing in hooks.
- Phillips head screwdriver – Drives screws into wall studs or anchors.
Many of these supplies are basic DIY and home improvement items you probably already have on hand. Pick up any additional hooks, anchors, tools, or hardware needed for your specific project.
Finding and Marking Stud Locations
When installing wall hooks, you’ll get the strongest hold by screwing directly into the wood wall studs. Use a stud finder tool to locate studs and mark their positions before mounting hooks.
Follow these steps to find and mark studs:
- Hold or move the stud finder slowly across the wall area where you want to place hooks. Note where it indicates stud edges.
- Use a pencil to lightly mark the outer stud edges so you know the center point. Most wall studs are 11⁄2 inches wide.
- Measure and mark out the planned hook positions. Make sure at least one screw for each hook will hit a stud.
- Mark screw locations over the stud centers using a pencil. You’ll drill pilot holes here later.
- Double-check all stud locations by knocking on the wall. Solid studs will sound dense compared to hollow drywall areas.
Always check for hidden pipes or wires near your marked studs using the stud finder or knocking method. Adjust hook placement to avoid puncturing anything vital behind the drywall!
Studying finding takes some finesse. Work slowly and carefully to get the marks in the right spots.
Drilling Pilot Holes
With your studs marked, it’s time to drill pilot holes for the wall mounted storage hooks screws. Here are the pilot hole drilling steps:
- Use a 1/8″ drill bit that’s smaller in diameter than your hook screws. This prevents splitting the wood studs.
- Drill straight pilot holes on the screw marks centered over each stud. Drill just deep enough for the screw length, usually 1 to 1 1⁄2 inches.
- On drywall between studs, drill larger 5/8″ holes. These get anchored later.
- Vacuum up any drywall dust so it doesn’t interfere with your hooks or anchors.
These pilot holes allow hooks to be installed cleanly and securely. Take care not to drill too large, deep, or at an angle. Precise holes make this an easy process.
Installing Screws and Anchors
With your pilot holes complete, you can fasten hooks onto the wall studs or drywall. Follow these directions:
Into Wall Studs
- Line up the hook’s screw holes with your pre-drilled pilot holes on the studs. Make sure the holes match up precisely.
- Use a screwdriver to drive the screws through the hook holes and into the wall stud. Sink screws deep enough to secure hooks while being careful not to over-tighten.
- Attach any wall anchors needed for stability. Some hooks include built-in anchors on the back plate.
Into Drywall Only
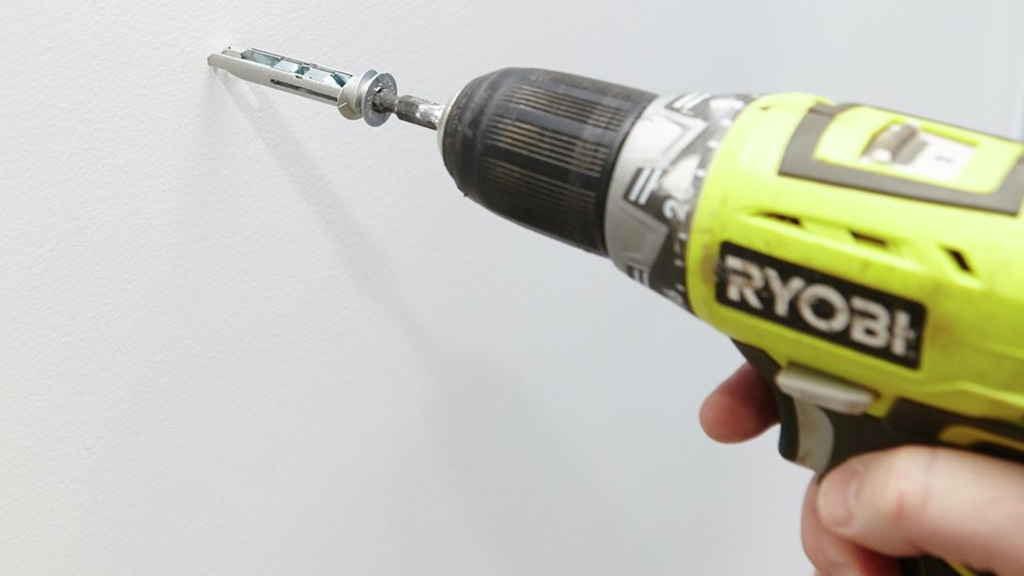
- Insert screw anchors into the larger drywall holes you drilled earlier. Tap anchors gently with a hammer until the flanges are flush with the wall.
- Push hooks into place so the screw holes align with the anchors. Hold hooks level and centered.
- Drive hook screws into the anchors with a screwdriver. Stop once the screws are snug, being careful not to strip the anchors.
Follow the above steps to mount all additional hooks. Check periodically that they are spaced evenly and hang straight on the wall.
Hanging Items from Hooks

You did it – the hooks are up! Now comes the fun part of loading them up. Here are some tips:
- Hang lighter objects like dish towels towards the bottom to keep the weight distribution low and centered.
- Group similar items together on adjacent hooks for a streamlined look.
- Allow hooks to bear weight for 24 hours before loading fully to ensure screws and anchors are settled.
- Check weight capacities and don’t overload hooks, especially plastic decorative ones. Overloading can pull anchors loose.
- Slide thin items like scarves or ties to the back of hooks to keep them from slipping off the sides.
- Angle J-hooks backward slightly so pans tilt inward rather than pulling out from the wall.
- Rotate often-used items to spread out wear and adjust weight distribution over time.
Re-tighten any loose hooks periodically as needed over years of use. And enjoy your newly maximized, organized storage space courtesy of your stylish wall mounted hooks!
Conclusion
Installing wall mounted storage hooks is an easy, affordable way to maximize space and organization in any room. With the right tools, materials, and installation method, you can securely mount hooks on wall studs or drywall in just a short time. Sturdy hooks keep essential items handy while freeing up precious floor areas and flat surfaces around your home.
Just follow the guidance for choosing hooks, positioning them strategically, finding studs, pre-drilling, and fastening securely. Soon you’ll have hooks for hanging everything from jackets and towels to pots and tools right where you need them most. So go ahead and take advantage of that empty wall space – your storage hooks are waiting!
Frequently Asked Questions
1. What types of anchors work best for installing hooks in drywall?
For most hooks, expandable anchors or toggle bolts provide the strongest grip in drywall. Make sure to use the proper anchor size for the hook screws.
2. How do I fill holes and touch up paint if I move hook locations later?
Use drywall spackle to fill old holes, sand smooth when dry, and then spot paint with touch-up paint in your wall color. Patch holes properly before installing hooks in new positions.
3. What is the maximum weight capacity for most wall-mounted hooks?
Hook weight limits vary based on size and build quality, but most average hooks hold 15-20 pounds safely. Check manufacturer specs to be sure. Overloading hooks can cause failure.
4. Should hooks be installed into wall studs or is drywall alone ok?
Whenever possible, install directly into studs for the most secure hold. If screws must go into drywall, use hollow wall anchors. Avoid excess weight on anchors alone.
5. How can I determine the right height and spacing for hook installation?
Measure the items to be stored and allow around 16-18 inches of space between hooks. Position hooks at least 2 feet above counters and furniture. Install at convenient heights for primary users.