It must be correctly installed if you invest in beautiful stone veneer for your walls. Otherwise, even the best-quality stones will look unattractive and damaged.
Most installations begin with a moisture barrier covered by dimpled metal lath, fastened to the wall’s framing with galvanized nails or staples, and overlapped 16 inches at vertical and horizontal seams.
Scratch Coat
While the masonry base for stone veneer installation may vary from project to project (such as framed plywood, wall sheeting, flush siding, concrete and masonry), all of these substrates are structurally sound and provide an excellent surface for affixing thin natural stone. Some projects also utilize stone veneer Columbus on columns and porch/entryway posts.
The first step in most installations is to cover the entire surface with a weather-resistant barrier such as tar paper. The tar paper should then be covered with metal lath installed per local building code. The lath should overlap vertical seams 6″ and horizontal seams 4″ and 16″ around corners.
A scratch coat is then applied that consists of one part type S masonry cement and 2.5 parts sand. The mix should be dry mixed before adding water. A masonry trowel is then used to rake a shallow series of horizontal grooves into the scratch coat (this step is usually required for concrete and stucco walls but is optional for wood and masonry walls). The scratch coat should be allowed to fully dry before hanging the stone veneer.
Bonding Mortar
Once the scratch coat is dry, it’s time to apply the bonding mortar. This mix is typically two-part sand to 1 part Portland type-S mortar. Add water and stir until a peanut butter-like consistency is achieved. You will also want to use a masonry trowel to apply the mortar.
When working with natural stone veneer, you must ensure that the mortar is consistent throughout the entire wall. If the mortar is too thin, the stones will not adhere properly and could fall off.
It’s also important to start with the corners of the wall and work outward. This tends to create a more fluid installation and will help you avoid creating a line of uneven mortar as you move down the wall.
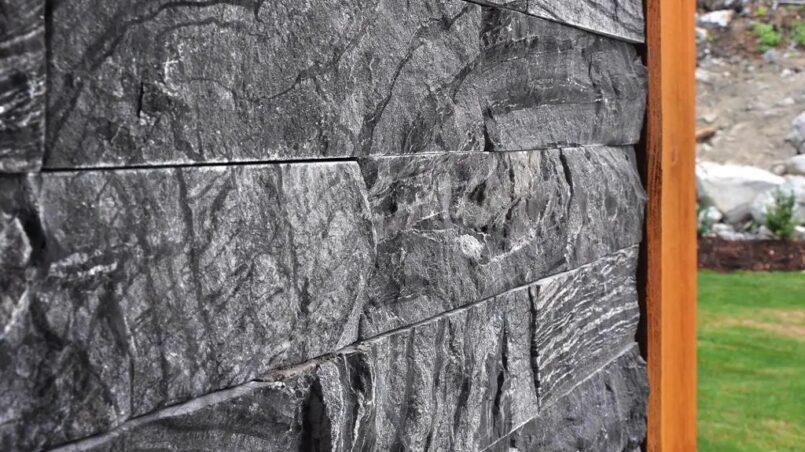
Stone Veneer
Manufactured stone veneer is a popular option for homeowners because it adds the elegance and durability of real stone without requiring structural reinforcements like foundations, wall ties, or lathes. It’s also cheaper, lighter, and easier to install than natural stone masonry. A pro will show you key installation tips to complete the job.
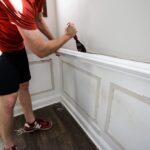
Before adding your manufactured stone veneer, use a trowel to back-butter the stones. This step is important for creating a strong bond between the backs of the stone and the mortar foundation you’ll be installing on your wall.
Once you’ve back-buttered your stones, install a layer of mortar called a scratch coat. This is the base for your veneer and is similar to a concrete or cement board scratch coat used on a concrete slab. Use a high-quality, pre-blended, polymer-fortified type S mortar for the best results.
Filling Joints
Manufactured stone veneer is a popular way to beautify many types of walls. It can be installed on framed plywood panels, wall sheeting, flush siding, CMU, and poured concrete walls inside and out. It also can be used to add decorative flair to columns, fireplaces, and kitchen backsplashes.
To install stone veneer, the wall is first backed with a water-resistant barrier (WRB).
Next, the metal lath is attached to the studs using corrosion-resistant fasteners. It is important that the lath is properly installed and has been lapped horizontally and vertically at a minimum of 1″. Wrapping the lath at both outside and inside corners is recommended to add additional strength. Finally, a scratch coat is troweled over the lath.