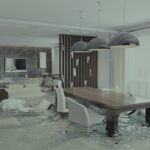
Have you ever walked into a room and noticed those unsightly water stains creeping up your baseboards? Well, you’re not alone. Baseboard water damage is a common issue that can make your home look less inviting and even lead to more significant problems like mold and rot. But fear not, because, in this guide, we’ll take you through the steps to fix baseboard water damage like a pro.
Understand Baseboard Water Damage
Before we dive into the nitty-gritty of fixing baseboard water damage, it’s crucial to understand what causes it. Water damage typically occurs when moisture finds its way into your walls and seeps down to the baseboards. This can happen for several reasons:
- Leaky Roof: A damaged or poorly maintained roof can allow rainwater to infiltrate your home.
- Faulty Gutters and Downspouts: Clogged or malfunctioning gutters can lead to water overflowing and dripping down your walls.
- Plumbing Issues: Leaky pipes or plumbing fixtures can introduce water into your walls.
- Poor Sealing: Insufficient sealing around windows and doors can let water seep in during heavy rains.
- Condensation: High humidity levels indoors can result in condensation forming on your walls, causing water damage over time.
Now that we know what we’re up against, let’s roll up our sleeves and get to work!
Step 1: Identify the Source of the Problem
The first step in fixing baseboard water damage is to determine the source of the issue. Is it a leaky roof, faulty gutters, a plumbing problem, or something else? Here’s how you can sleuth out the source:
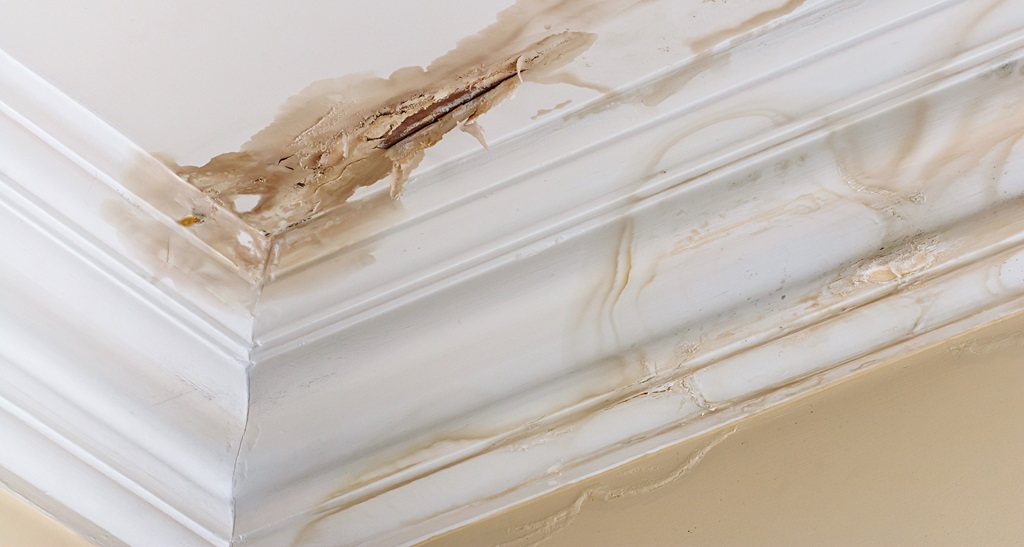
- Inspect the Ceiling: Look for any signs of water stains or drips on the ceiling above the damaged baseboard. This can often pinpoint the origin of the water intrusion.
- Check Windows and Doors: Examine the seals around your windows and doors for gaps or cracks. If you find any, they could be allowing water to enter.
- Examine the Exterior: If you suspect issues with your roof or gutters, take a look outside during a rainstorm to see if water is overflowing or leaking from these areas.
- Plumbing Inspection: For plumbing-related issues, inspect pipes and fixtures for leaks. Sometimes, it’s as simple as a loose connection.
Step 2: Fix the Source of the Leak
Once you’ve identified the source of the water intrusion, it’s time to tackle the root problem. Here are some common fixes:
- Roof Repair: If your roof is the culprit, repair any damaged shingles, flashing, or seals. If the damage is extensive, consider hiring a professional roofer.
- Gutter Maintenance: Clean out your gutters regularly and ensure they are properly attached to your home. Replace any damaged sections or downspouts.
- Seal Windows and Doors: Apply weatherstripping or caulk to seal gaps and prevent water from seeping in.
- Plumbing Repairs: If you find plumbing issues, fix any leaks or replace damaged pipes and fixtures. Don’t forget to check for hidden leaks inside walls, as they can also contribute to baseboard water damage.
Addressing the source of the problem is crucial to preventing future water damage. Remember, fixing it now can save you from more extensive repairs down the road.
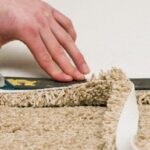
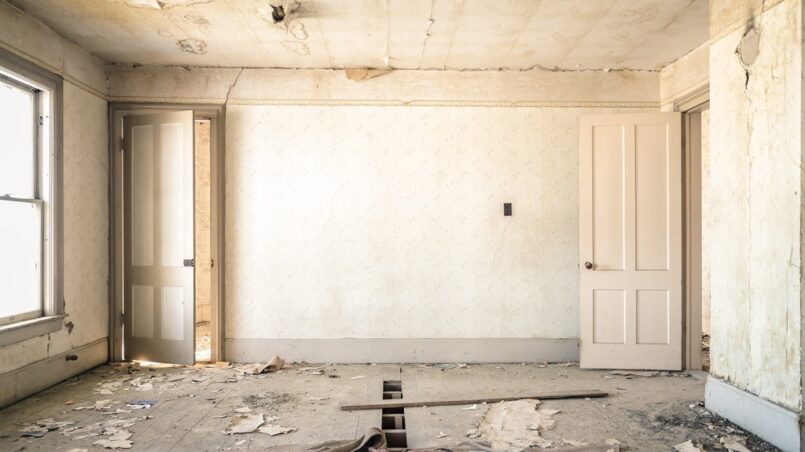
Step 3: Remove Damaged Baseboards
With the source of the water intrusion fixed, it’s time to turn our attention to the damaged baseboards. Here’s how to remove them safely:
- Gather Your Tools: You’ll need a utility knife, pry bar, hammer, and safety goggles for this step.
- Score the Caulk: Use the utility knife to cut through any caulk or paint sealing the baseboard to the wall. This will make it easier to remove.
- Pry the Baseboard: Carefully insert the pry bar behind the baseboard and gently pry it away from the wall. Be cautious not to damage the drywall.
- Work Your Way Along: Continue prying and moving along the length of the damaged baseboard until it’s completely free.
- Inspect for Mold: While you have the baseboard removed, check for any signs of mold or mildew. If you find any, it’s essential to address it promptly to prevent further issues.
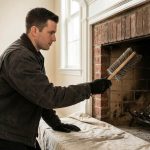
Step 4: Dry Out and Disinfect
Now that the baseboard is out of the way, it’s time to ensure that everything is thoroughly dried out and disinfected. Follow these steps:
- Use Fans and Dehumidifiers: Place fans and dehumidifiers in the affected area to help speed up the drying process. Ensure proper ventilation to prevent mold growth.
- Disinfect the Area: Mix a solution of water and mild detergent or vinegar and use it to clean the exposed wall surface. This will help eliminate any lingering mold or bacteria.
- Inspect for Structural Damage: While you’re at it, inspect the wall for any structural damage. If you find any, it’s essential to address it before moving on.
Step 5: Replace Baseboards
With everything clean and dry, it’s time to replace the damaged baseboard. Follow these steps:
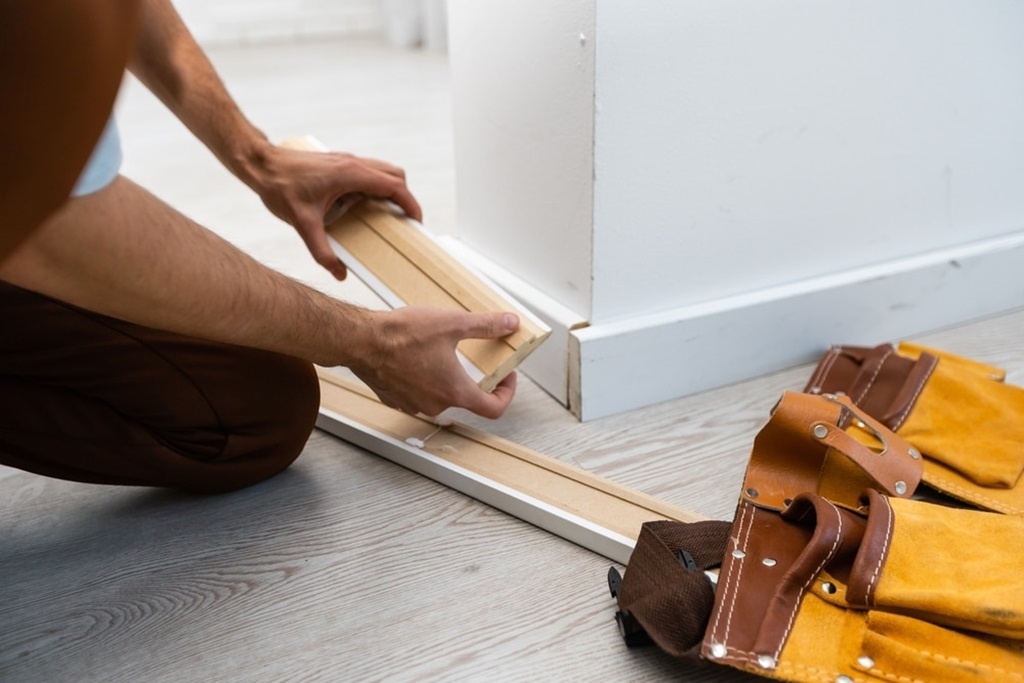
- Measure and Cut: Measure the length needed for the replacement baseboard and cut it to size using a saw.
- Prime and Paint: Prime the new baseboard and let it dry. Then, paint it to match the existing color.
- Apply Caulk: Apply a thin bead of caulk along the back of the baseboard to seal it to the wall.
- Nail in Place: Carefully nail the baseboard to the wall, ensuring it’s level and flush with the existing baseboards.
- Touch-Up Paint: Once the baseboard is securely in place, touch up any paint as needed to blend it seamlessly with the surrounding area.
Step 6: Prevention is Key
Now that your baseboard is looking as good as new, it’s crucial to take steps to prevent future water damage. Here are some tips:
- Regular Maintenance: Keep up with routine maintenance like cleaning gutters, inspecting your roof, and checking for plumbing leaks.
- Monitor Indoor Humidity: Invest in a hygrometer to monitor indoor humidity levels. Keeping them in check can help prevent condensation and mold growth.
- Landscaping: Ensure that the ground around your home slopes away from the foundation to prevent water from pooling near the base of your walls.
- Sealing: Periodically check and reseal windows, doors, and other potential entry points for water.
In conclusion
Fixing baseboard water damage is a task that determined homeowners can tackle. By identifying and addressing the source of the problem, removing damaged baseboards, and taking preventative measures, you can ensure your home stays dry and beautiful for years to come. Remember, a little effort now can save you from bigger headaches later on. So, grab your tools and get to work – your home will thank you!
FAQs
Q1: Can I just paint over water-damaged baseboards without fixing the source of the problem?
A1: It’s not recommended. While painting over water-damaged baseboards may temporarily hide the issue, it won’t address the root cause, and the damage can worsen over time. Always fix the source of the problem first.
Q2: How can I tell if there’s mold behind my baseboards?
A2: If you notice a musty smell or see dark spots or discoloration on the wall or baseboard, there may be mold present. To be sure, you can have a professional mold inspection done.
Q3: Do I need to hire a professional for baseboard water damage repair?
A3: While some DIY enthusiasts can tackle this project, if you’re unsure about any aspect, it’s a good idea to consult a professional, especially if there’s structural damage or extensive mold growth.
Q4: How long does it take for baseboards to dry after water damage?
A4: The drying time can vary depending on the extent of the damage and the humidity levels in your home. It can take several days to a few weeks. Using fans and dehumidifiers can speed up the process.
Q5: Can I use a sealant instead of a caulk to attach the baseboard to the wall?
A5: Caulk is recommended for sealing the baseboard to the wall because it provides a flexible and waterproof seal. Using a sealant meant for gaps and cracks may not provide the same level of protection against moisture.