Whether you need more storage space in your garage, want to organize your tools and supplies, or are looking for a simple furniture project, learning how to build your storage cabinet is easier than you may think. You can create a custom storage solution with essential tools and materials tailored to your needs.
In this beginner’s guide, we’ll walk through how to build a storage cabinet, from planning and prep work to assembly and installation. Follow the steps below to learn fundamental woodworking skills and create a storage cabinet that first-time DIYers can tackle. Let’s get started!
Choosing a Storage Cabinet Design
The first step is deciding on the storage cabinet you want to build. Consider factors like:
- Location – Will this go in your garage, basement, closet, or outdoor space? The placement will inform the size and features.
- Purpose – What do you need to store? Tools, sporting goods, pantry overflow? The contents will describe the ideal cabinet depth, height, and shelving layout.
- Space available – Measure the footprint where you want the cabinet so you can find a plan that fits. Leave room for opening doors and drawers.
- Skill level: If you’re new to woodworking, Opt for a more basic rectangle cabinet. As you gain skills, add doors, drawers, and custom elements.
- Budget – Simple cabinets with just a box and shelves will be the most affordable DIY option. Doors, hardware, and finishes add cost.
Once you’ve thought about your needs, browse online woodworking sites and home improvement stores for fit storage cabinet plans. Many have free building plans to download. Choose plans aimed at beginners that include detailed steps and cut lists.
For this guide, we’ll walk through building a basic 30″ wide x 72″ tall storage cabinet with plywood sides, a face frame, one fixed interior shelf, and double doors. This versatile cabinet size works for many purposes. Feel free to modify the design to suit your needs!
Buying Materials and Supplies
With your plans selected, it’s time to purchase the lumber, plywood, hardware, and finishes you’ll need. Having all the materials on hand before cutting and building will make the project go more smoothly.
Here’s an overview of what you’ll need for a cabinet like ours:
Lumber:
- 1×4 boards for the face frame – approx. 12 feet
- 1×2 boards for door rails and stiles – approx. 10 feet
- 1×2 board for door stop – approx. 3 feet
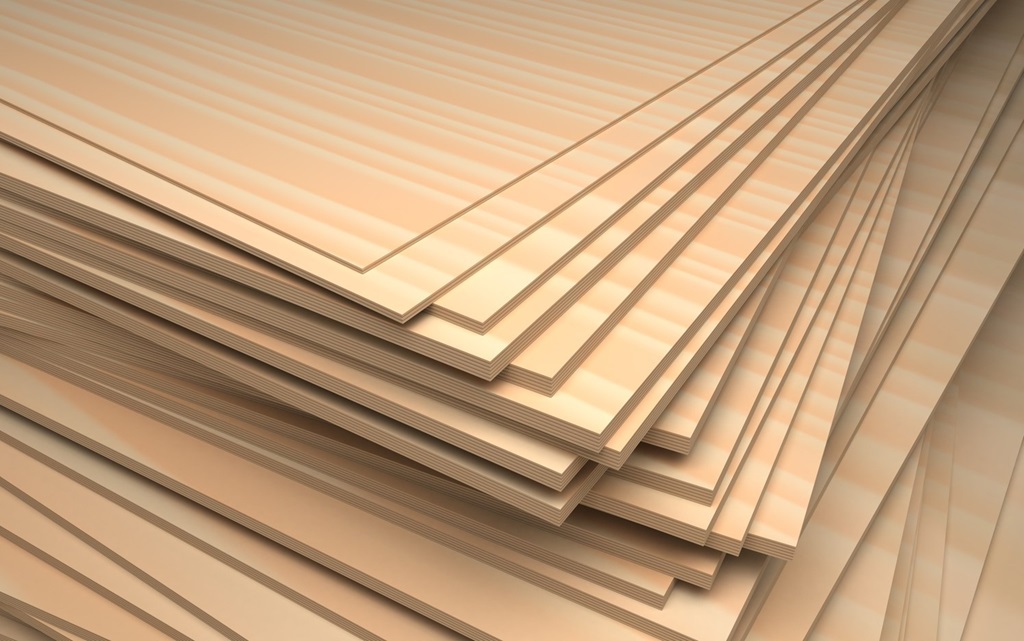
Plywood:
- Two 4’x8′ sheets of 3⁄4” plywood for the sides, top, bottom, back, and fixed shelf
Hardware:
- Door hinges – 2 pairs
- Door pull handles – 2
- Shelf pins – at least 8
- Wood glue
- Finishing nails
- Brad’s nails
- Wood screws
Finishes:
- Sandpaper – 220 and 320 grit
- Wood primer
- Paint or stain of your choice
Check the cut list and hardware on your chosen plans to modify this list as needed. Have extra plywood and lumber on hand for mistakes and defects, too.
Safety gear like eye protection, ear protection, gloves, and a mask is a must. A circular saw, miter saw, drill/driver, hammer, tape measure, carpenter’s square, and clamps will also be essential tools.
With your supplies gathered, you’re ready to start building!
Cutting the Plywood Pieces
The cabinet box parts – the sides, top, bottom, back, and fixed shelf – will be cut from the plywood sheets according to the dimensions in your plans. Garage workbenches, sawhorses, and circular or table saws are ideal for breaking down plywood.
Follow safe work practices like these when handling large plywood:
- Use an assistant or panel cart to manage the sheets. Don’t try lifting alone.
- Make cuts gradually by scoring the sheet, then going deeper on each pass. Rushing can bind the blade.
- Support plywood well on sawhorses, not just on the edges. Use outfeed tables when possible.
- Make finish cuts outside the line, then trim to the exact size. Avoid tear-out on the finished edge.
- Wear eye, ear, and dust protection. Make sure cuts are free of obstructions.
Cut panel by panel, following your layout and measurements, until all sides, top, bottom, back, and shelves are cut to size. Write what each part is on the boards with a pencil. Once cut, set the pieces neatly aside.
Building the Cabinet Box
With your plywood panels cut, it’s time for the fun part – assembly! We’ll be constructing the cabinet box using wood glue and finishing nails. Work on a flat, level surface for best results.
Start by laying the two side panels upside down on your work surface, spacing them around 30 inches apart for this cabinet width. Apply wood glue to all edges of the bottom panel. Then, place the bottom between the sides, gluing and nailing it into place with 1-1/4″ finishing nails every 4-6 inches.
Next, flip the cabinet over and repeat by gluing and nailing the top into place. Then, attach the fixed shelf and the back panel similarly. Use carpenter’s squares and tape measures to ensure the cabinet stays square.
Finally, slide-in shelf pins on the sides allow for adjustable shelving. Two pins at the same height, front and back, are best for securing the shelves. Space multiple sets at the desired heights.
The plywood box assembly is complete! Set this inner cabinet aside and clean up the glue squeeze-out before it dries. The quick dry time of wood glue lets you move on to adding a face frame next.
Building and Attaching the Face Frame
A face frame is a border made of solid wood boards that attach to the front edges of the cabinet box. This trim gives a finished look, hides plywood edges, and provides a surface to mount doors and hardware.
For maximum strength, the face frame joins at corners using pocket screws and wood glue. Here are the steps:
- Cut 1x4s to length for the sides and top and bottom rails per plans.
- Set pocket screw jig depths for 1-1/2″ stock. Drill pocket holes every 4-6 inches.
- Sand mating surfaces. Apply wood glue and clamp rails to stiles—drive 1-1/4” pocket screws. Wipe excess glue squeeze-out. Allow joints to set for 30 minutes before unclamping.
- Place the face frame over the cabinet’s front edges. Center it side-to-side and top-to-bottom. Drill pilot holes and drive wood screws every 8-10 inches to attach to the plywood. Keep the frame square as you connect.
Adding the face frame finishes the structural assembly of your cabinet! Now, the fun decorative work begins.
Building and Hanging Doors
Doors instantly make plain plywood boxes look like finished furniture. While door construction takes some patience, the joints go together similarly to the face frame using pocket screws.
For each door:
- Cut 1x2s to length for two stiles and two rails per the plans.
- Drill pocket holes and glue rails to stiles as with the face frame, checking for square.
- Choose panel style – solid wood or plywood panel set into a groove in the frame. Cut to size.
- Glue panels into grooves in door frames. Use clamps or band clamps to apply pressure as the glue dries.
- Sand and finish doors as desired, along with the cabinet.
- Mount hinges to door stiles. Have a helper hold doors in the open position—Mark and drive screws to attach the other hinge leaf to the face frame.
- Add pulls and latches. Check the door swing and make any hinge adjustments.
Take care to get the doors square, aligned, and swinging smoothly. Your patience will pay off when you see the finished look!
Adding Trim, Hardware, and Molding
With the doors mounted, the last step is adding trim elements to finish the cabinet inside and out. Here are some options:
- Corner trim or quarter-round to dress raw plywood edges.
- Door stops are mounted to the face frame to prevent swing-through.
- Crown molding at the cabinet top to accentuate the height.
- Drawers or roll-out trays to make interior contents accessible.
- Extra fixed shelves mounted on shelf pins.
Get creative with trim to make your storage cabinet unique! Modernize with clean, simple lines, or add vintage flair with molded edges. Combining stock trim with custom-cut embellishments lets you decorate on a budget.
Remember to prime and paint all exposed wood surfaces unless you want a natural stained wood look. Fill any surface defects with wood putty before priming, too. Then, topcoat with a durable paint or protective clear-coat finish.
Sanding, Priming, and Painting
No storage cabinet looks finished until it receives a paint or stain treatment to protect and beautify the plywood and solid wood surfaces. While optional, this finishing process is recommended to keep your cabinet looking its best for years.
Here are the basic steps for prep, priming, and painting your cabinet:
- Allow wood glue from assembly to fully cure – 24 to 48 hours.
- Sand all interior and exterior surfaces with 220-grit sandpaper to smooth and prep for finishing. Wipe away dust.
- Fill any holes, dents, or gouges with wood filler; allow to dry thoroughly. Sand smooth.
- Vacuum and tack cloth surfaces to remove residual dust before priming or staining.
- Apply 1-2 coats of multi-surface primer to all sides, letting dry between coats. Sand lightly with 320-grit sandpaper to create a smooth foundation.
- Add 2-3 finish coats of cabinetry paint or colored topcoat of your choice according to manufacturer directions. Sand lightly between coats as needed.
- Allow the painted cabinet to cure fully – around 5 to 7 days – before installing and loading up with your belongings. The paint needs time to harden fully.
Beyond basic white or wood tones, consider bright colors to add personality to your storage cabinet project!
Installing and Loading Your Finished Cabinet
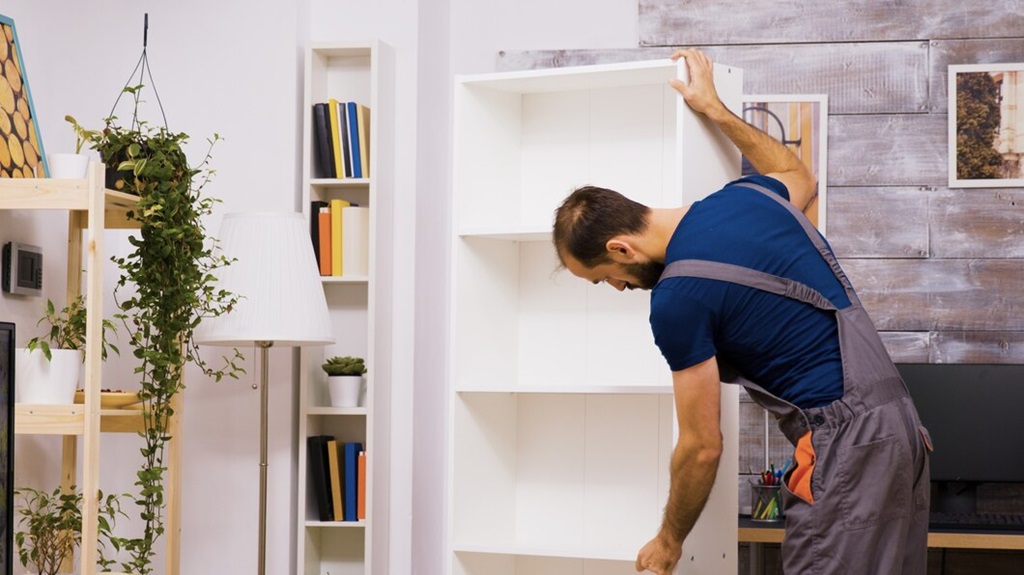
You’re in the home stretch now. With assembly done and a decorative coat of primer and paint applied, it’s finally time to install your DIY storage cabinet and put it to use. A few final steps will complete the project:
- Have a helper lift and position the cabinet in place. Shimming under the base helps level the floor if it is uneven.
- Secure the cabinet to wall studs through the back panel. This prevents tipping when fully loaded.
- Add any needed interior fittings like shelves and trays. Load from bottom to top to keep centered weight.
- Install drawer slides if adding roll-out drawers. Fully extend to attach.
- Organize using bins, trays, or racks to compartmentalize the space. Labeling helps identify contents.
- Fill ‘er up! Enjoy having new customized storage space tailored precisely to your needs.
Part of the fun is deciding how best to organize your cabinet and admiring your handiwork whenever you open the doors. Building your cabinet from scratch takes effort, but the satisfaction and cost savings make it worthwhile.
This wraps up the basics of building a storage cabinet for first-timers. Check out the FAQs below for additional tips. May your new cabinet bring much joy and order!
Conclusion
Building your basic storage cabinet truly is a DIY project within reach. Plywood’s simple construction and forgiving nature make cabinetry accessible for hobbyists and woodworkers alike.
Start with a smaller plan like this guide to pick up fundamental skills you can apply to larger-scale cabinetry and furniture projects. The more you build, the faster your confidence and abilities will grow.
And remember – every cabinet has to start somewhere. Even masters began by learning these basic woodworking techniques hands-on. So don’t be intimidated. With a plan, material list, safety precautions, and patience, you can hammer out a custom storage cabinet that will serve you for years.
So pick a weekend, prepare your tools, and try cabinet building! You may find a rewarding new woodworking hobby. Here’s to filling your space with storied DIY projects.
Frequently Asked Questions
Q: What type of plywood should I use?
A: 3⁄4-inch sanded plywood with one good face is ideal for cabinetry. Avoid thin 1⁄4-inch panels, which are prone to sagging over time. If possible, opt for formaldehyde-free plywood.
Q: Can I build the cabinet with a circular saw and drill?
A: Yes! Circular saws allow for the breakdown of plywood sheets. You can build the box and face frame with a circular saw, drill, hammer, and essential hand tools. Table saws make cutting more precise but aren’t necessary.
Q: How do I modify the plans for corner cabinets?
A: Adjust the side, top, and bottom panels widths to fit inside the corner space. Notch the back panel to fit around molding, too. Door placement may shift towards one side.
Q: What type of hinges should I buy?
A: Go with full overlay or half overlay hinges depending on the overlay of your doors. Buy hinges rated for the weight of cabinet doors. Avoid cheap hinges that sag over time.
Q: Can I stack cabinets on top of each other?
A: Yes, with a few precautions. Attach to wall studs at the top for stability. Join stacked cabinets together through the back panels. Add an extra wide face frame to unify stacked cabinets visually.