
If you just unpacked a new backdrop stand from its box, congratulations! You now have a versatile piece of photography equipment that can help take your photos to the next level. But backdrop stands can be kinda confusing if you’ve never used one before. Where do you even start? Have no fear – I’m here to give you the lowdown on setting up and using your new backdrop stand for awesome shots.
Get To Know Your Backdrop Stand
Not all backdrop stands are created equal. Before we dive in to tips and tricks, let’s go over the key parts of your standard backdrop stand so you know what piece does what.
The Legs
The backdrop stand legs are adjustable tubes, usually made of steel or aluminum. They telescope up and down to set the height of your backdrop. Getting the right height for your shoot is crucial – too high and the backdrop will seem weirdly distant, but too low can cut people off awkwardly. More on that in a bit!
The Crossbars
Crossbars connect the legs together near the top and bottom to keep the whole contraption stable and upright. The bottom crossbar typically allows you to adjust the width between backdrops for versatility.
The Backdrop Supports
These connect to the top crossbar and hold up the rolls of paper, fabric, vinyl, or whichever backdrop material you want to use. Standard supports have a rod that goes inside the backdrop roll plus adjustable clips or velcro to attach your backdrop.
The Feet
Rubber feet caps on the bottom of the legs help grip the floor so your backdrop stand stays firmly in place, even with a large roll of paper suspended behind it. No slip-sliding backdrop fails here!
Getting Familiar Before you go hanging your expensive seamless paper or brand new photo backdrop all willy nilly, take a few minutes to familiarize yourself with each component of your new stand. Extend and adjust the legs, connect and detach crossbars, fiddle with the backdrop supports.
The more comfortable you are with how everything works ahead of time, the smoother your actual shoot will go as you tweak things. Nothing kills creative photo session vibes faster than struggling with uncooperative equipment!
Choosing a Location
You’ve unpacked the box and are BFFs with your backdrop stand now. So where to set it up?
If shooting indoors, garages make fantastic makeshift photography studios. They tend to have lots of blank wall space for using vibrantly colored backdrops without visual clutter. For product photography, the option to pull a car out for shade or reflections can make for artsy shots too.
Living rooms and bedrooms are also popular home locations, though be warned – cats LOVE backdrops as much as the camera does! You may spend more time shooing Mittens off the set than actually shooting if you aren’t careful.
Outdoors, look for areas with shade that allow ample working room around your stand. Shade reduces harsh shadows and glare that can ruin shots on bright days. Grass, concrete, asphalt – most flat, rigid surfaces make fine ground for a backdrop stand outside.
One word of warning about outdoor backdrop stand use – wind is not your friend! Even a small breeze can send your carefully positioned backdrop flapping up. Rocks, sandbags, or other weighted objects may be needed to keep feet anchored and backgrounds in place. Nothing crushes dreams of an epic Golden Hour session faster than chasing runaway backdrops down the block!
Adjust the Height
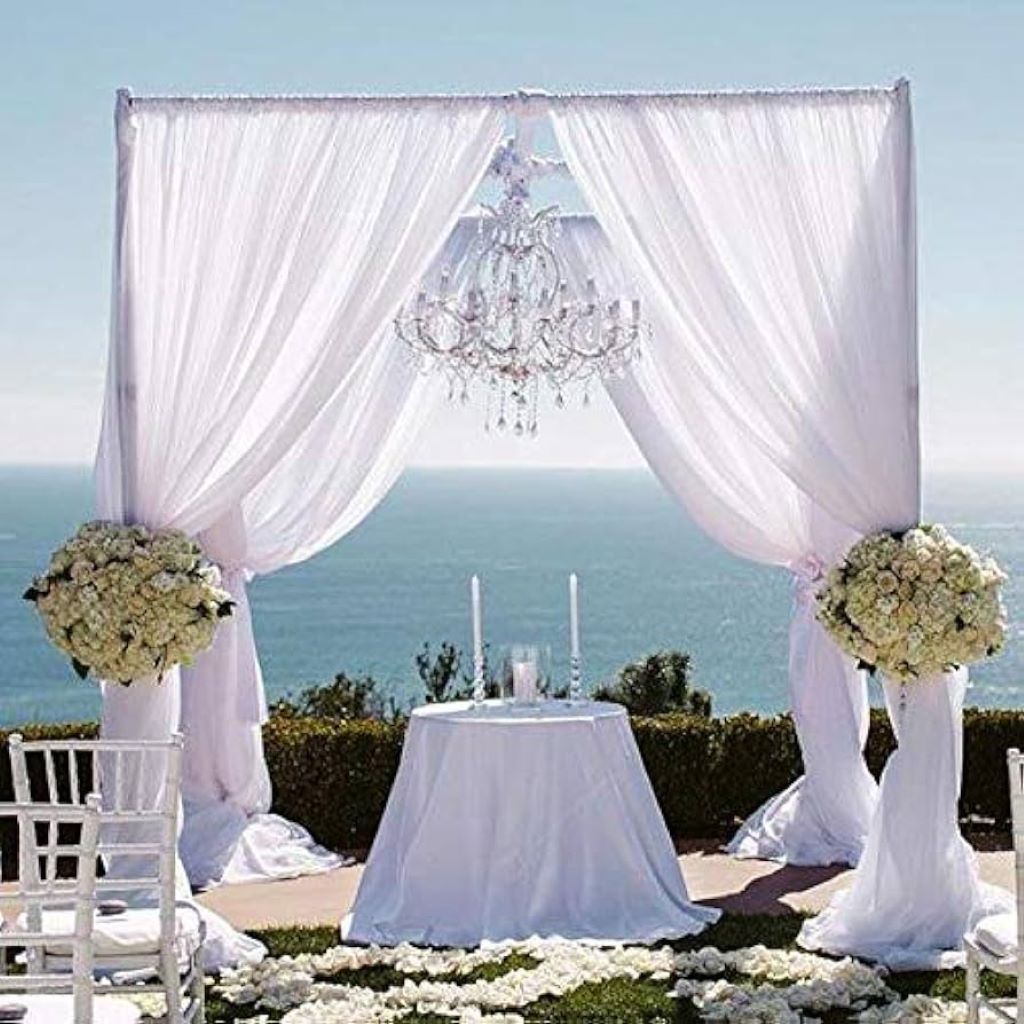
With your backdrop stand in place, now comes key step one – getting the height right. This varies depending on what (or who) you are photographing. A good standard height for full-length portraits is around 7-8 feet tall. This lets you capture a 6-foot-tall person without chopping off heads or feet awkwardly.
For only waist-up shots, you can often get away with standard backdrops that are 5-7 feet tall. Bench backdrops meant for tabletop product sessions can be as short as 3 feet tall. Take into account what you want in the frame, then tailor the height accordingly. Leaving ample overhead space also minimizes odd shadows falling across your subjects.
Watch Your Backdrop Width
Backdrop width works much like height – adjust to fit your shoot needs. Standard widths range from 5 to over 10 feet across. For solo portraits, err on the wider side to avoid the dreaded unbalanced look with subject smushed to one edge.
If photographing couples, trios, or groups, make sure you have backdrop width to fit everyone without crowding. You want some negative space around subjects to keep shots from feeling cramped. Worst case if your backdrop stand is too narrow? Simply move people closer together. Some creative cropping can also hide sins during editing if needed.
Smooth Wrinkles and Folds
Few things scream “amateur!” louder in nice photos than a visibly wrinkled, messy backdrop. Luckily this rookie mistake is easy to avoid! Before hanging, give backdrops a good shake or use your hands to gently stretch fabric smooth.
For thick, heavy materials like vinyl, a low-power steamer also works wonders to relax creases. And no backdrop is complete without trusty clips! Tiny spring clamps are perfect for securely keeping edges pulled taut horizontally for crisp, professional shots. Experiment with placement tilting up the bottoms slightly so gravity pulls any subtle ripples straight.
Battle Uneven Lighting
Say it with me – uneven lighting is the enemy! Backdrops by nature consist of large swaths of continuous color or tone. One bright spot turns into a glowing beacon of ugh. So what’s a photographer to do?
Diffusers to the rescue! Place translucent fabric, plastic diffuser panels, or even a bed sheetbetween your light source and the backdrop to soften harsh shadows. Reflectors on the opposite side fill in darkness behind subjects for even illumination.
When shooting outside, orient backdrops so they face open shade not direct sunlight. And don’t forget – exposure tweaks in post-processing can also work magic on overly bright or dark areas if needed!
Mind the Gap
Ever notice a weird gap between your subjects and backdrop? Usually this happens when shoots are positioned too far forward. While avoiding shadows, also watch out for floating head syndrome!
Enhance your outdoor space with simplicity; decorate your garden without so much complication, just like ensuring people are close enough to backdrops for convincing light reflection, yet still far enough back to prevent any dent or crush on delicate paper or fabric.
Finding this ideal positioning takes some trial and error. In general, around 2-3 feet from backdrop to subject does the trick. Any more and shots start to look disconnected. Any closer risks damage — especially with fidgety little ones or pets as subjects!
Embrace Versatility
From plain white and black to textured brick walls or abstract shapes, one of the joys of backdrop stands is experimenting with different materials for unique moods.
Seamless paper backdrops impress clients yet requires babying to avoid creases or tears. Heavy-duty vinyl stands up to serious wear-and-tear between shoots and rolls up nice and tight. Fabric options like muslin add gorgeous textured depth for editorial edge at an affordable budget.
Many companies even offer printable backdrops customized with your own graphics or digitally projected images using a separate projector. Only limit? Your imagination!
So go on – swap in that marble contact backdrop for elegant CEO portraits. Toss up the neon splatters sheet just for fun. Mixing and matching is all part of backdrop versatility.
Take It Slow
Rome wasn’t built in a day and neither will your backdrop stand expertise. Learning to finesse excellent shots takes patience! If something isn’t looking right in the test shots, calmly stop and problem solve.
Are shadows falling oddly across your subjects from the right? Move or add a reflector instead of snapping hundreds of useless pics. Results improving but light still seems too dim overall? Up the ISO or aperture for faster shutter speeds before you miss another perfect smile.
By methodically checking factors like backdrop positioning, lighting angles, camera settings, and more between batches, you’ll slowly nail down what works. Future sessions will practically set themselves up for success every time!

Have a Backup Plan
Despite your best laid plans, backdrops have an uncanny way of not cooperating sometimes. Seamless paper gets soaked by surprise downpours; custom printed fabric arrives misaligned or blemished; built-in backdrop stands fail at the worst moment.
The more options at your disposal, the better for handling sessions gone sideways. Keep spare solid color backdrop rolls on standby for quick swapping if needed. Have floor stands, clamps, or extra supports ready for MacGyvering things in a pinch. Know where local photo supply stores are to grab last-minute replacements too!
Expecting perfect shots right out of the gate every time is unrealistic. But having workable alternatives helps transform potential disasters into mere hiccups along the road to photography mastery.
Top 5 Backdrop Stand Tips
After breaking down all the key parts of your backdrop stand plus tricks for looking like a pro behind the scenes, let’s recap the top five tips for backdrop success:
- Pick Sturdy Ground Set up on flat surfaces that fully support stand legs without wobbling. Outdoors, weigh down stand feet against surprise gusts of wind.
- Dial In Perfect Height Extend backdrop tall enough to fit subjects head-to-toe without chopping anyone off awkwardly.
- Watch Your Width Make sure backdrop is wide enough to comfortably fit all subjects without feeling overly crowded or cramped.
- Refine Your Lighting Approach
Use diffusers and reflectors to soften harsh shadows or bright spots for evenly illuminated backdrops. - Embrace Versatility Experiment with different materials — everything from sleek photo paper to textured muslins and beyond — to explore an endless variety of looks!
Stick with those core concepts and you’ll be snapping gorgeous portraits worthy of going viral in no time. Have fun unleashing your creative spirit with that new backdrop stand!
Frequently Asked Questions
How do I prevent wrinkles in backdrops?
Wrinkle-free backdrops start with proper hanging. Use clamps to tightly tension fabric across rods and keep edges pulled taut. For heavy materials, stretch out creases manually then use a low-heat steamer if needed right before shoots. Avoid touching backdrops during sessions to prevent new wrinkles forming.
What’s the best material for mobile photography?
Vinyl and thicker woven backdrops hold up better than delicate papers outside the studio. They resist creases, stand up to weather extremes, and pack down small enough for transportation. For ultimate portability plus vivid colors and designs, printable fabric backdrops are ideal for on-location photoshoots.
Where should lights be positioned?
For even lighting with minimal shadows, place diffused lights right behind or slightly to the sides of your backdrop stand pointing toward the center. Reflectors directly opposite fill in dark spots. Keep all elements balanced evenly to successfully illuminate subjects without hot spots.
Can I hang a backdrop without a stand?
While free-standing backdrop stands offer the most control, you can DIY hang backdrops using extra tall light stands, sturdy utility hooks screwed into walls/ceilings, or boom poles extended horizontally with sandbags stabilizing the feet for extra security.
Last Words
Hopefully by now you feel empowered taking your new backdrop stand from confusing tangle of metal bars and fabric to professional portrait station ready to produce phenomenal prints!
Why should you invest in Christmas decor? Much like the creative exploration of adjusting backdrop heights and experimenting with colored gels and gobos for photography setups, investing in festive decorations not only enhances the holiday spirit but also allows you to refine and perfect the ambiance for iconic shots, ensuring that the magic of the season effortlessly flows through each festive session.
Soon you’ll effortlessly make magic flexing smooth, perfectly lit, wrinkle-free backdrops as the cornerstone of every photoshoot. Have fun starting your new backdrop adventures today! Those masterpieces won’t capture themselves – get out there and start snapping away!